01
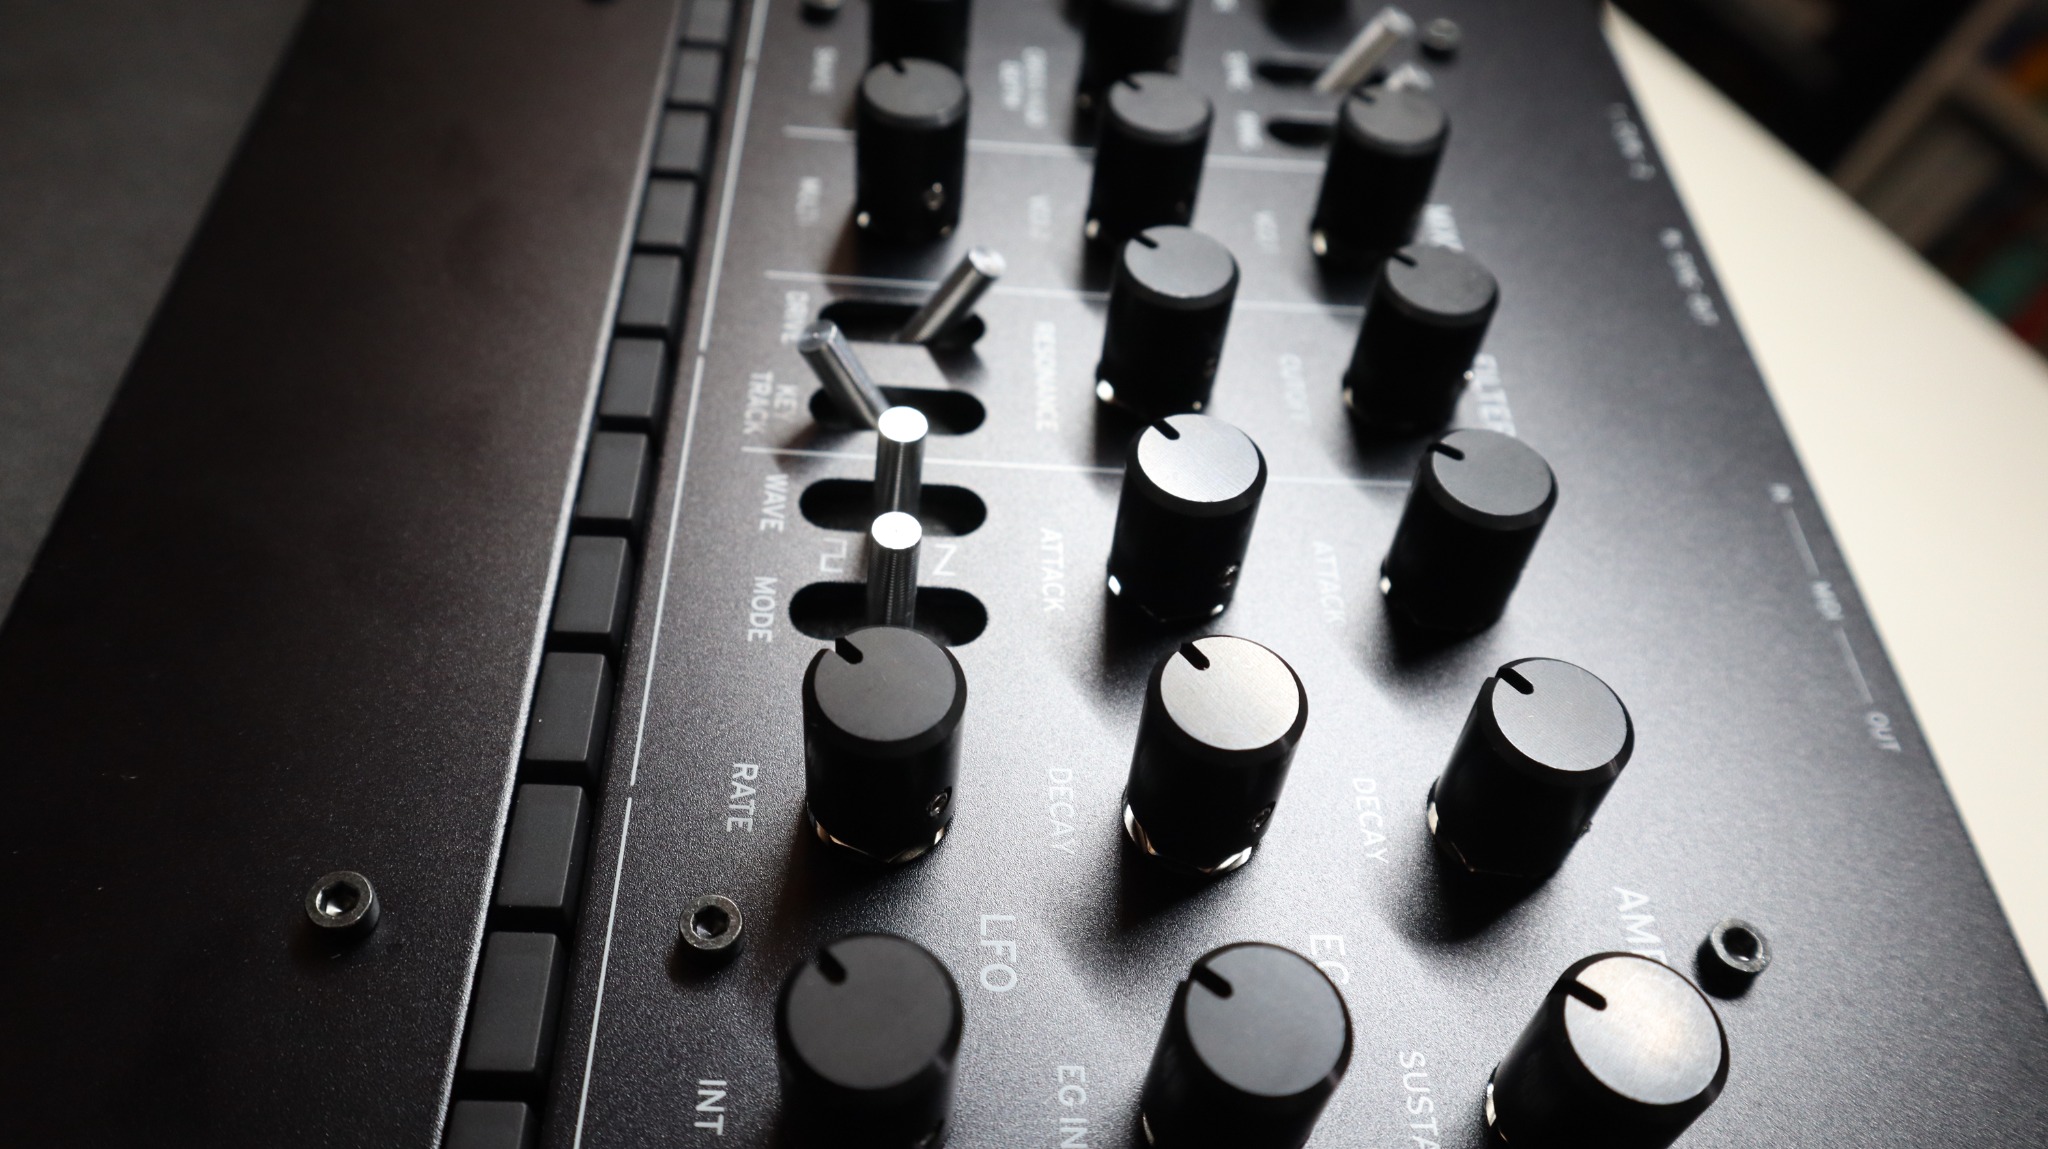
Remove the old knobs
Clean the control shafts before installing the new set.
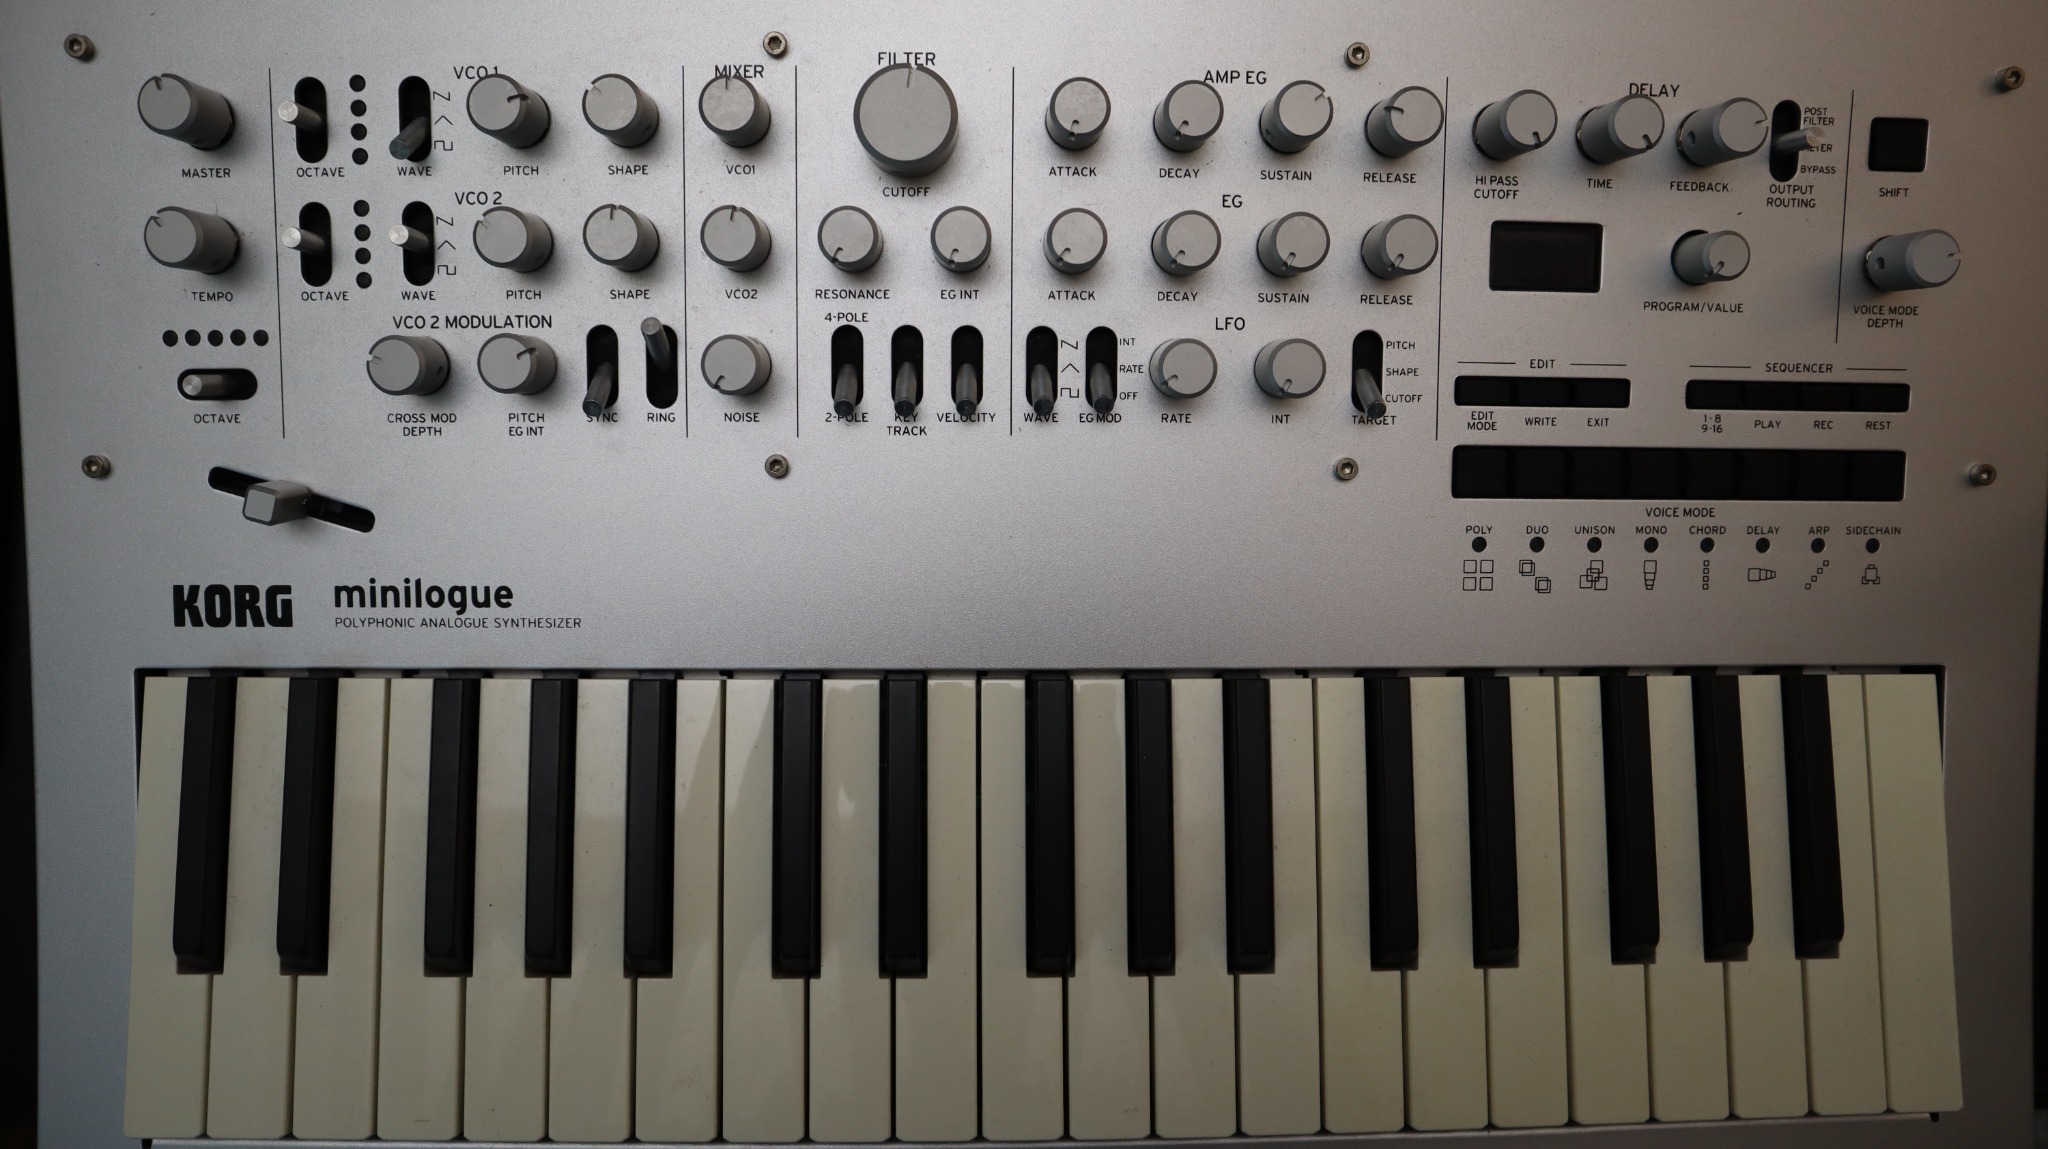
Replacement aluminum knob sets for Minilogue owners who want the synth to feel clean again without changing its character.
No complicated restoration work. Remove, align, tighten.
Clean the control shafts before installing the new set.
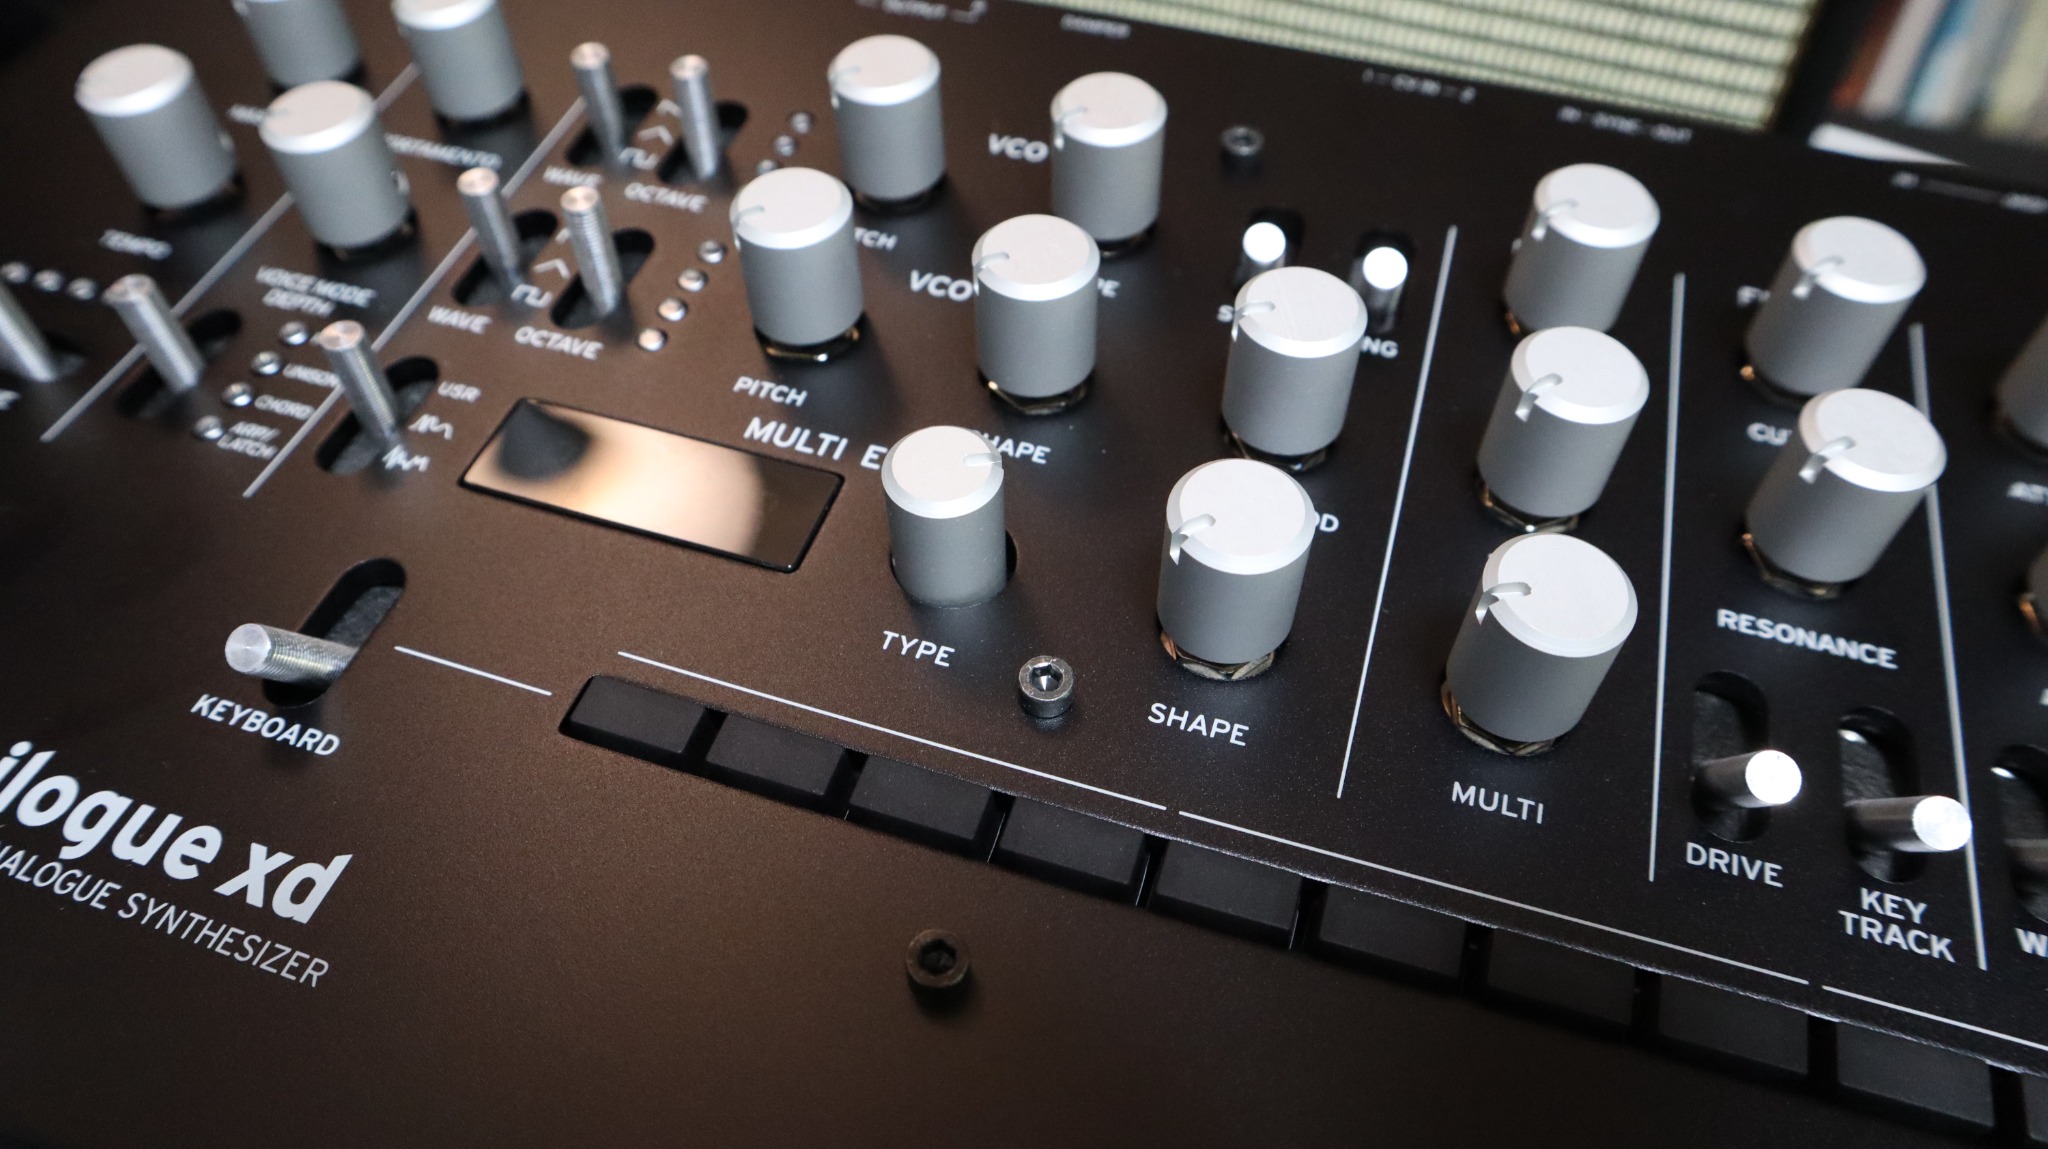
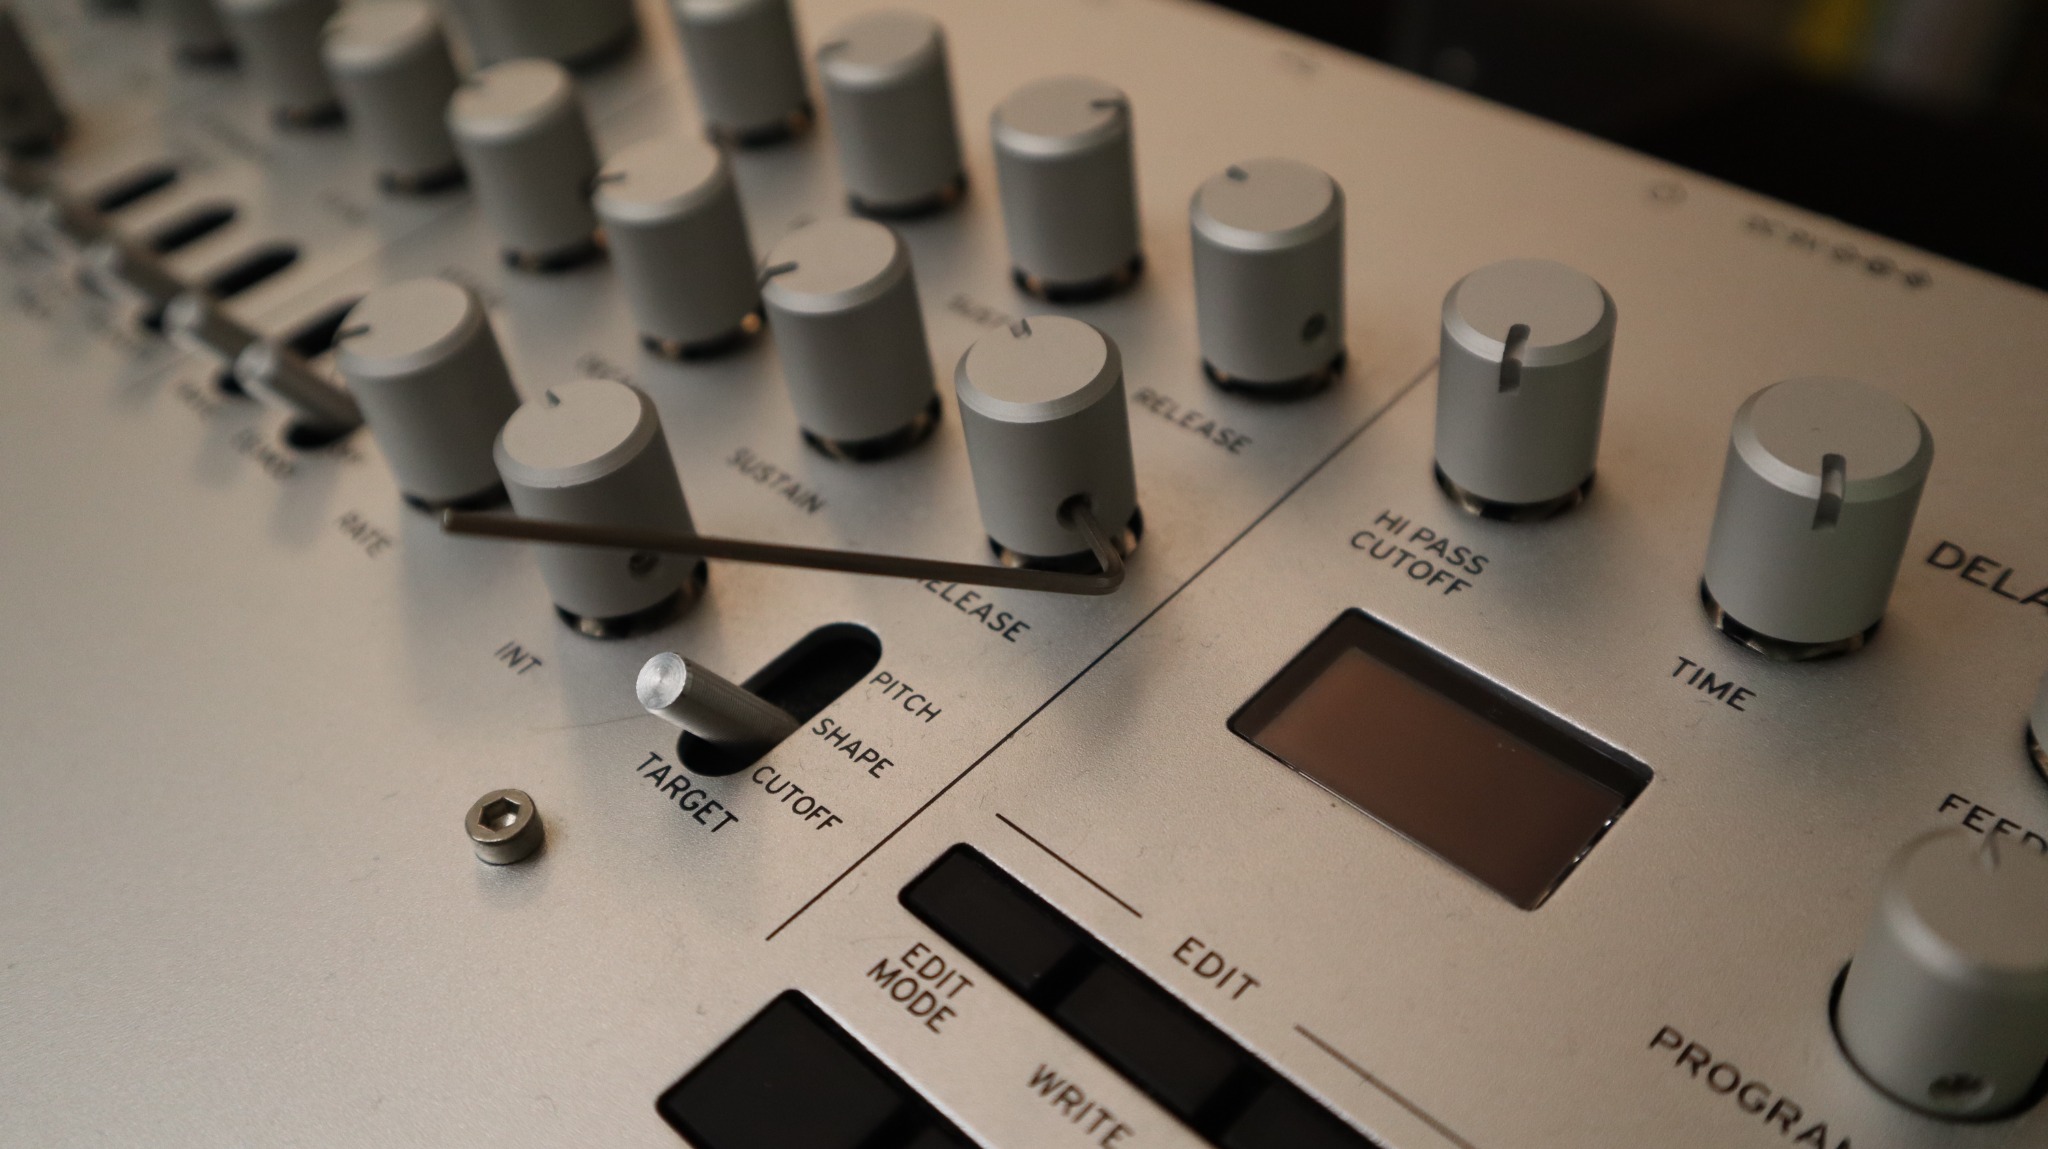
Set each indicator line so the panel reads consistently.
Secure the knobs and finish the swap.
Choose the store that works best for your location. eBay for international orders, Smart Store for Korea, and Reverb for related gear listings.